Tuesday, January 27, 2015

DIY Sew: Leather Tote Bag

 
Materials:
Leather
polyester thread
double sided tape
Teflon foot
leather needle
sewing machine
craft paper
scissors or a rotary cutter
 
Step 1: Create a bag pattern on craft paper. See below for the measurements I used.


Step 2: adjust your stitch length to 3.5, and tension to 1.1 (will vary by machine)
Step 3: Using double sided tape, tape the right edge of the bag together (good sides touching), then do the same to the left. Sew up the right and left sides (be sure to sew in the same direction on both sides).
 
 
Step 4: Sew each corner
 
 
Step 5: Using double sided tape, tape the wrong sides of two straps together. Do the same to the other two. Sew up both the right and left sides of the strap (make sure to sew
up the right and left sides in the same direction).
Step 6: Sew straps onto bag. Measure 3.5" in and 1.5" down on each side. Working from the right stitch 3 lines .5'' apart.
 
 
Done!


Monday, January 19, 2015

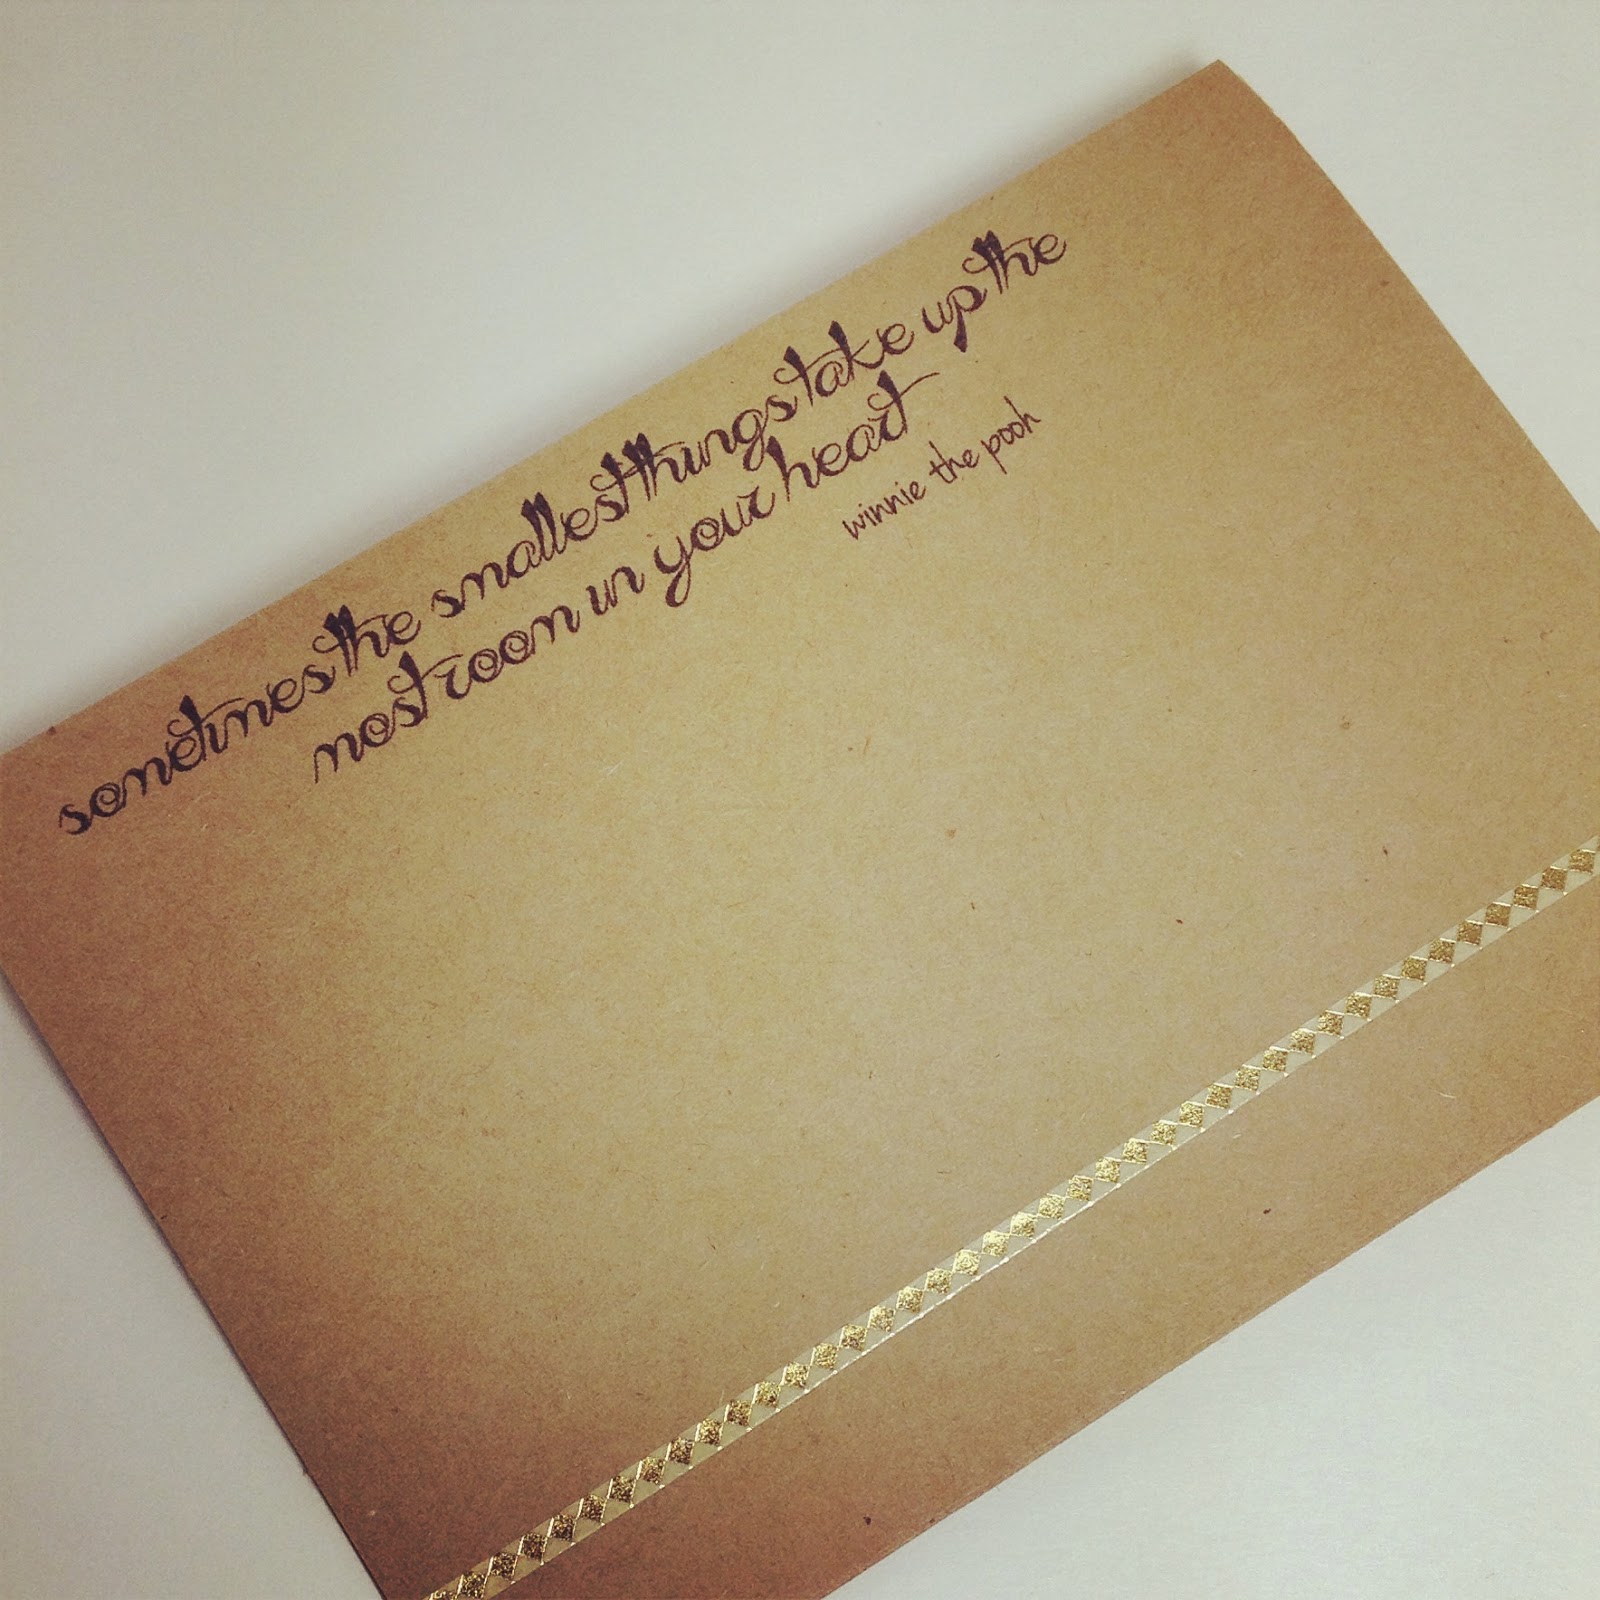
DIY: Cards


I'm currently planning my wedding for this July. In the process my fiancé and I have decided to design our own wedding invitations. As we've been working in photoshop elements 10, I realized that along with making our own wedding invites, I should design all types of cards, birthday, anniversary, baby shower, etc.
 
I whipped up this card in a few short minutes.
Materials:
Card Stock
Little B tape
printer
 
Step 1: Design your text in photoshop or paint. If you want more pretty and interesting fonts than are currently on your computer, you can go to dafont.com and download your choice of font. For this card I used Everything Holiday. To download fonts create a folder on your computer and save the font to that folder, unzip the folder, and move the unzipped folder to the fonts folder which can be found within the control panel --> appearance and personalization--> fonts
 
Step 2: Print, make sure to change the size of your paper to 5"by 7"
 
Step 3: Add a small pop of sophistication by decorating with little b tape


Sunday, January 11, 2015

DIY Sew: Iphone Case

 
Materials:
1/4 yard of fabric
1/4 yard of interfacing
1 magnetic snap
plastic iphone case
embroidery floss
 
Step 1: Cut two pieces of interfacing: 4.25" x 2.5" and 8.5" x 5"
Cut two pieces of fabric: 8.5" x 2.5" and 8.5" x 10"
 
 
Step 2: Install snaps: use fabric chalk and draw a vertical line at 2.75" about an 1.5" in from there place a washer. Use a pen and mark both slits of the washer. Use scissors to cut slits where the marks are. Placing the interfacing under the fabric install the snap.


Step 3: With Good sides of fabric touching pin and sew three sides of the fabric


Step 4: Fold in fabric on side you did not yet sew, and sew


Step 5: Fold in fabric 2.5", pin and sew only the top and bottom


Step 6: Take your smaller piece of fabric and interfacing and install the opposite side of the snap. Mark slits, cut, install snap.


Step 7: Fold fabric over, pin and sew (top, bottom, and left side only)


Step 8: Turn fabric right side out, fold in remaining fabric and sew up right side only
 

Step 9: Sew the smaller piece of fabric onto the larger piece


Step 10: Cut out a hole for your phone's camera


Step 11: Use embroidery floss and sew around the edges of the camera hole


Step 12: Super glue a plastic iphone case into the inside back portion of your fabric, let dry, and pop in phone


Done!!


Thursday, January 1, 2015

DIY: Yarn Wrapped Bottle

Happy New Year! Here's a really easy craft to start the year off on a productive foot.
 

Materials:
Hot Glue Gun
Yarn (2 colors)
Empty wine bottle
 
Step 1: Peel the label off the wine bottle by soaking the bottle in soapy water
Step 2: Start from the top of the bottle, apply hot glue and wrap yarn around the bottle


Decorate with Michael's crafts fake flowers and you're done!