Tuesday, December 11, 2012

DIY Sew: Table Cloth Christmas Stockings


Last week, I created a christmas skirt from a holiday table cloth I picked up at Marshalls, this week I decided to take the remaining material and try my hand at homemade christmas stockings!
Here's what you'll need:
Holiday table cloth (or holiday fabric)
scissors
sewing machine and thread
paper bag
Step 1: cut out one side of a paper bag and free hand draw a stocking.  Use scissors to cut out the pattern
Step 2: Fold your fabric with right sides together, place your pattern over the fabric and trace
Step 3: Cut
Step 4: repeat Step 2 tracing the pattern in the opposite direction and cut (you should now have 4 pieces of cut fabric)

Step 5: sew the top and bottom pieces together at the top of the stocking; do the same for the bottom
 
 
Step 6: Place the two pieces of stocking together, pin, and sew all the way around leaving three inches open
 
Step 7: using the three inches you left unsewed, turn the stocking right side out


Step 8: Sew the existing three open inches of fabric together

Step 9: Now, stuff the top part of the stocking into the bottom part


Step 10: Take a 1 inch by 6 inch piece of scrap fabric and fold it over, then pin it into the inside of the stocking, and sew it into the back stocking seam
 
... and that's it!


Sunday, December 2, 2012

DIY Sew: Tablecloth to Skirt w/ Exposed Zipper


I was in marshalls the other day and came across this tablecloth for $9.99; I immediately grabbed it, as I was in the market for some holiday fabric to make christmas stockings.  Once home I was playing around with the fabric and wrapped it around my waist.  I quickly realized that this fabric was going to have a second use and that would be for my new holiday skirt.


So, what does one need for a christmas skirt?
1 yard of Fabric
Scissors
zipper
sewing machine (zipper foot needed)
thread
seam ripper

Step 1: Set out your fabric with right sides together


Step 2: Trace a skirt that fits you well, be sure to leave a little room for seam allowance


Step 3: Cut


Step 4: Fold fabric in half lengthwise to ensure the skirt was cut evenly (cut off excess if needed)


Step 5: create darts to the back piece of fabric only; to do this measure the waist band, and cut the measurement in half, measure this out and mark (this should be the exact middle); next measure 2 1/2" from the center on each side and mark, from here measure another 1" and mark; next in the middle of your inch mark and measure down 5 1/2" down, mark; connect the dots.
For a better visual you can refer to the darts on my pencil skirt tutorial here.


Step 6: pin both darts and sew using a straight stitch


 Your darts should look something like the below


Step 7: Now, with good sides of the fabric touching, pin up both sides of the skirt and sew. Note: before sewing decide which side you want to install the zipper to.  On the side of the skirt where the zipper will lay sew using a long stitch (you'll eventually use the seam ripper to take this out so the zipper can zip)


Step 8: Installing the zipper; for this I wanted the skirt to be a little funky so I decided to install the zipper on the outside of the skirt.  To do this turn the skirt right side out, unzip the zipper and pin one side to the right side of the seam


Step 9: Using your zipper foot on your machine sew the zipper to the skirt


Repeat steps 8 and 9 for the other side of the zipper


Step 10: Using the seam ripper, rip out the seam under the installed zipper; you should now be able to zip the two pieces of fabric apart


Step 11: Hem: Turn the skirt inside out; fold up the bottom of the skirt a 1/4 an inch and iron; from there fold up another 1/2  inch and pin all the way around, sew


and... you're ready to hit the town for some holiday parties!


Thursday, November 29, 2012

DIY Inspiration: Exposed Zippers

I'm loving this funky new trend of Exposed Zippers on clothing.  Certainly looks like an easy, inexpensive DIY, stay tuned for a tutorial early next week!


Cynthia Vincent $198

Alexander Wang $595


Remeo and Juliet Couture $45 (cute way to enhance a boring shirt!)


Serfontaine Jeans $196


Sunday, November 25, 2012

DIY Crochet: Ski Cowl


It's that time of year again! There's a chill in the air and the snow is starting to fall, that can only mean one thing, it's almost time for ski season!

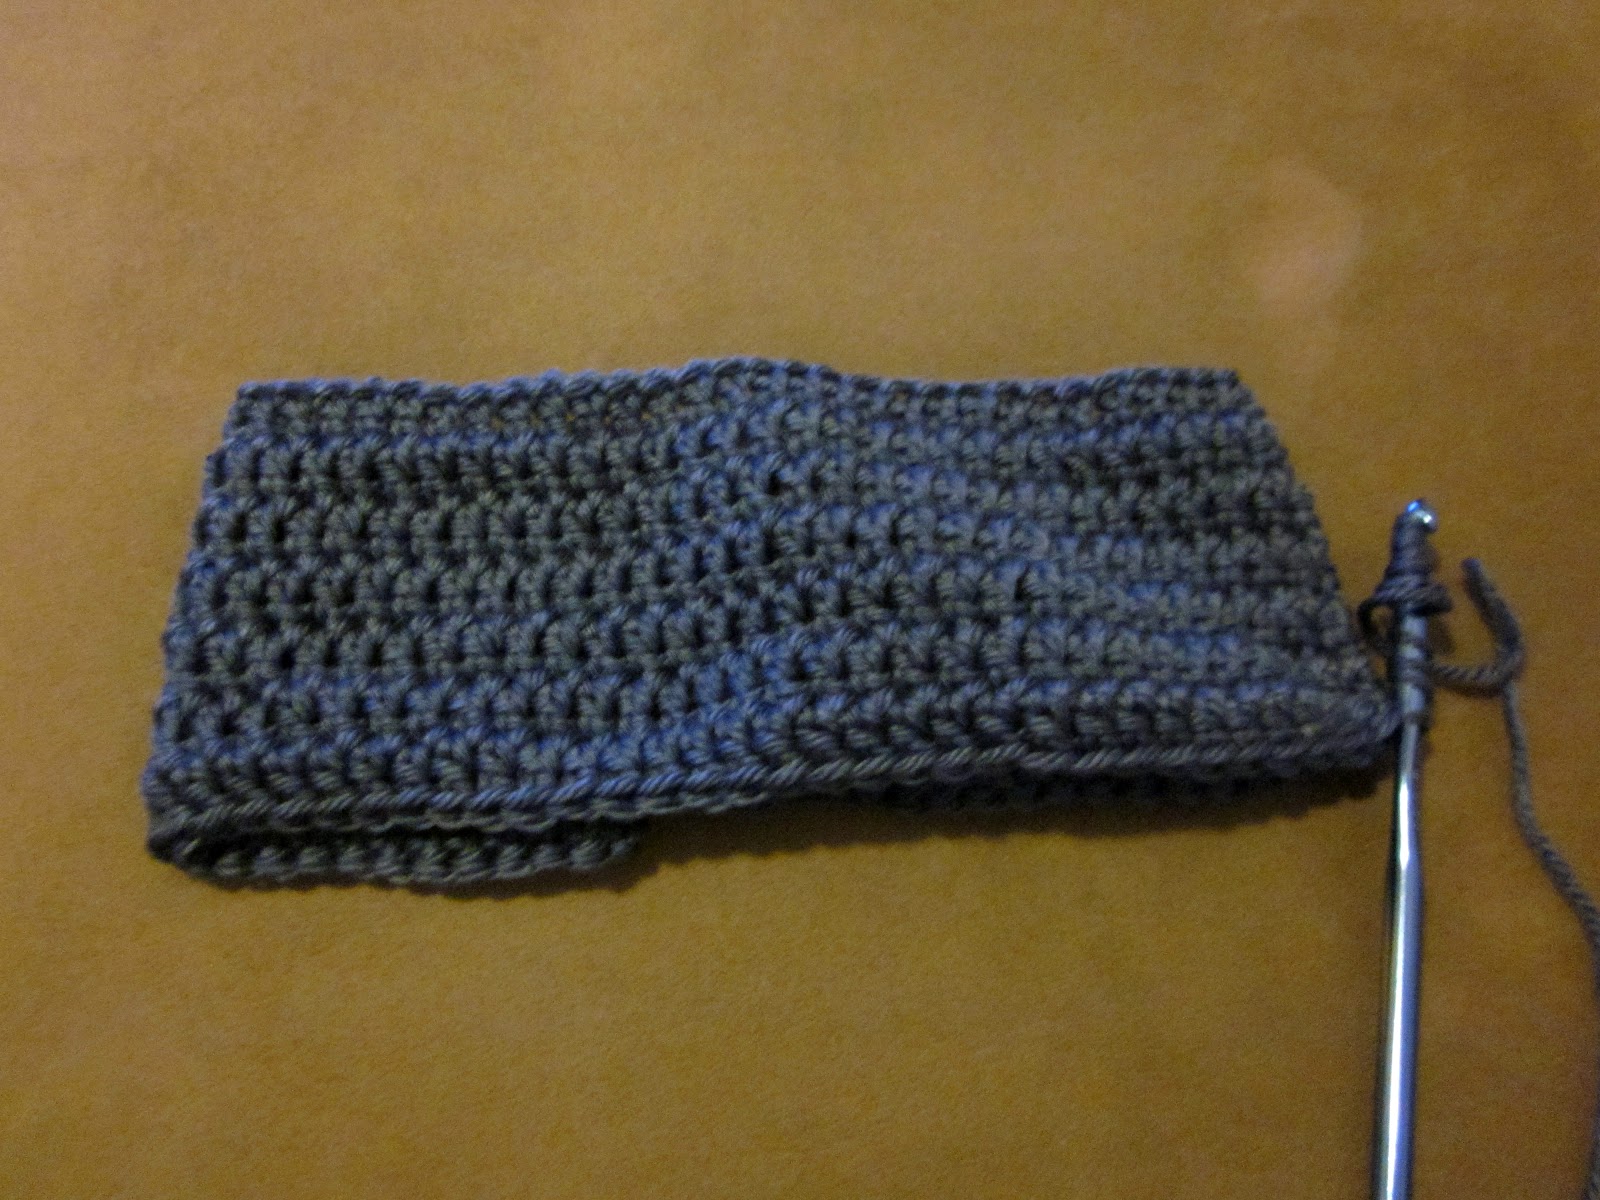
Last year, bored on a road trip I crocheted an extremely ugly yet soft ski cowl, and, I must say it served its purpose on the ski slopes.  This year, I decided I wanted to recreate the cowl in a more pleasing way, and since I had so much free time thanks to hurricane sandy stealing my power for a week, the project was a success.

Here's what I did:
Make a slipknot

chain 60

Attach the last chain to the first chain using the slip stitch

chain 2, *double crochet all the way around, slip stitch, chain 2*
repeat from ** 22 times, or until you reach your desired length


Fasten off


Simple simple project, and comes together in a few short hours (so easy decided to make a few!).


Monday, November 19, 2012

DIY Jeans Refashion: Flares to Straight Leg


I've had this pair of blue cult jeans sitting in my closet for a good two years, but I couldn't bare to part with them because I love the way they fit at the waist and thighs, and the actual jean is so soft!  As the flared jean style is no longer in right now, and these pants actually are a little short for me (just a few reasons why they've been sitting in the closet unworn for so long) I decided it was time to refashion to straight legs!

My first step was research, I wanted to read through other bloggers attempts and see what method I thought would work best for me.
The majority of tutorials showed only altering the inside of the pants, but to me this didn't make much sense beacuse you'd be pulling the jean and might end up with awkward bunches.
I decided the best way to go would be to alter both sides of the jean starting just above the knee
Here's what I did...
Turn your jeans inside out and try them on
Starting above your knee pinch fabric and pin (make sure your jeans are laying flat and you're not pulling the fabric to one side or the other); work your way down your leg moving from right to left; once complete do the same thing to your other leg


Keeping the pants inside out, use a long straight stitch (just in case you mess up you can use the seam ripper to start over) to sew down both sides of the pants; when sewing make sure to start just off the fabric above the knee so the seam is nice and straight


Try on the pants again, if you like the way they fit (left side is altered), turn inside out, cut off excess, and resew using a zigzag stitch.  Do the same process to the other leg.

That simple, new wearable straight legs!

Monday, November 12, 2012

DIY Crochet: Poncho

At long last, I have finally found a great extremely easy crochet poncho pattern! 

I've been wanting to make a poncho since the day I began crocheting, but every pattern looked crazy complicated and wasn't exactly appealing to the eye.  Thankfully lionbrand yarns came through for me for this season.  Check out the pattern I used here.


If you're interested in making this, I would definitely use the lion brand pattern, but if you want to recreate exactly what I've done above, you can use this altered pattern below.
Make a slip knot
chain 73
Row 1: Half Double Crochet (hdc) in 3rd chain from the hook, and in each stitch across
Row 2: *chain 2, turn, hdc in each stitch across* repeat ** until piece measures 50 inches
fasten off


                          Fold piece lengthwise bringing 1st row to meet last row
               Beginning at top right hand corner, slip stitch side edges together for 13 inches
hdc around neck opening join with slip stitch at the beginning chain
*chain 2, hdc in each stitch around, join with slip sitch*
repeat ** until neck cowl measures 8 inches
fasten off