Sunday, January 27, 2013

DIY Sew: Butterfly Top


I'd say one of my favorite places to find inspiration is bloomingdales.com; everything is extremely cute, but also very far out of my price range. Recently I came across this trendy tie dye poncho by Quotation (retails for $85), I just knew I had to attempt a version for myself.


Here's what you'll need:
2 yards of knit fabric (I picked gray)
Scissors
White thread
Sewing machine
tape measure
 

Step 1: wash and dry your fabric, make sure to use delicate settings
 
Step 2: lay out fabric and fold in half with right side up


Done!


Saturday, January 12, 2013

DIY Sew: Faux Fur Bootie Cuffs


Ever since last winter I've been thinking of a way to breathe new life into these black boots I purchased at h and m. 
 
 
Then, an idea came to me, why don't I spice them up by adding some faux fur; it should be a simple enough project right? .... well I'm happy to say to my delight this is one of the simplest sewing projects ever!


Materials:

1 pair of black booties
2 pieces of 5'' by 16'' black faux fur fabric
Black thread
sewing machine
scissors
measuring tape
 
Step 1: Measure out 2 pieces of faux fur 5'' by 16''


Step 2: Cut


Step 3: With Faux Fur touching fold the fabric in half and pin
 
 
Step 4: Using black thread in your sewing machine, sew along the pins with a straight stitch (do this to both pieces)
Step 5: turn fabric right side out, and slip over your boots
 
Done!


Wednesday, January 2, 2013

Paint Night


Continuing on in my crafty adventures...
I'd like to introduce you to my very first painting!


 Before the holidays a few friends and I signed up for a wine and paint night at a local bar. If interested sign up here, they host events in New York, Portland and Boston.
I had no previous experience with acrylic paint, so I was a little apprehensive, but the artist walks you through each step.

Below I'll show you exactly what we did.
First we started with a blank canvas,  and a plate with some blue, black and white paint


Mix blue and white and paint the top portion of the canvas; next using only white paint the bottom portion of the canvas


Next, add a skyline using gray paint (mix white and black to create gray), then using gray add two lines coming out from the skyline, creating prespective


From here add trees, using gray, and highlights of white


Add the second row of trees (make the trees darker by adding less white to the black), and highlight the trees with white (snow)


Add a third row of trees using pure black and white highlights


and that's it! Way easier than I ever imagined!


Tuesday, January 1, 2013

2013 Resolutions

Happy New Year! I can't believe over a whole year has already gone by since I started crafting!  I have learned so much, and have been introduced to so many amazing things during this journey.  My biggest obsession of 2012 definitely had to be the website pinterest, I think I pinned a few thousand pictures for inspiration; and tried out more than a few tutorials.

.. now to 2013

My crafting journey continues; here are just a few of my goals:
1. learn how to knit
2. reformat my blog (already making some progress) and promote it
3. Post more regularly
4. Learn how to take better photos
5. learn how to use photoshop


Have a happy and healthy New Year Everyone!

Sunday, December 16, 2012

DIY Sew: Round Table Cloth to Christmas Tree Skirt


With Christmas right around the corner, I've been keeping my eyes open for possible holiday DIYs.  After I made the Christmas stockings out of a tablecloth, I thought it would be really cute to have a matching tree skirt.  As luck would have it, I found the exact same pattern, but this one was round (60 inches), which made this project extremely easy.
Materials:
1 60'' round table cloth
tape measure
marker
scissors
sewing machine and thread
First with wrong side up, measure 30 inches in from the bottom and 30 inches in from right and mark


Then, using your tape measure, measure 18 1/2 inches around from the center, mark. Use your tape measure like a protractor marking about 8 times forming a circle, then take a washable marker and connect the dots


Cut all the way around the circle, and then make a cut from the center mark to the edge of the circle


Now all you have left is to hem; to do this start with the slit, fold fabric over 1/4 inch and iron, then fold over 1/2 inch and pin, do this to both sides of the slit


Sew


Now, repeat the process for the outside of the circle; fold over 1/4 inch iron, fold over 1/2 inch more and pin


sew


Place under and around the Christmas tree, and you're done!


Tuesday, December 11, 2012

DIY Sew: Table Cloth Christmas Stockings


Last week, I created a christmas skirt from a holiday table cloth I picked up at Marshalls, this week I decided to take the remaining material and try my hand at homemade christmas stockings!
Here's what you'll need:
Holiday table cloth (or holiday fabric)
scissors
sewing machine and thread
paper bag
Step 1: cut out one side of a paper bag and free hand draw a stocking.  Use scissors to cut out the pattern
Step 2: Fold your fabric with right sides together, place your pattern over the fabric and trace
Step 3: Cut
Step 4: repeat Step 2 tracing the pattern in the opposite direction and cut (you should now have 4 pieces of cut fabric)

Step 5: sew the top and bottom pieces together at the top of the stocking; do the same for the bottom
 
 
Step 6: Place the two pieces of stocking together, pin, and sew all the way around leaving three inches open
 
Step 7: using the three inches you left unsewed, turn the stocking right side out


Step 8: Sew the existing three open inches of fabric together

Step 9: Now, stuff the top part of the stocking into the bottom part


Step 10: Take a 1 inch by 6 inch piece of scrap fabric and fold it over, then pin it into the inside of the stocking, and sew it into the back stocking seam
 
... and that's it!


Sunday, December 2, 2012

DIY Sew: Tablecloth to Skirt w/ Exposed Zipper


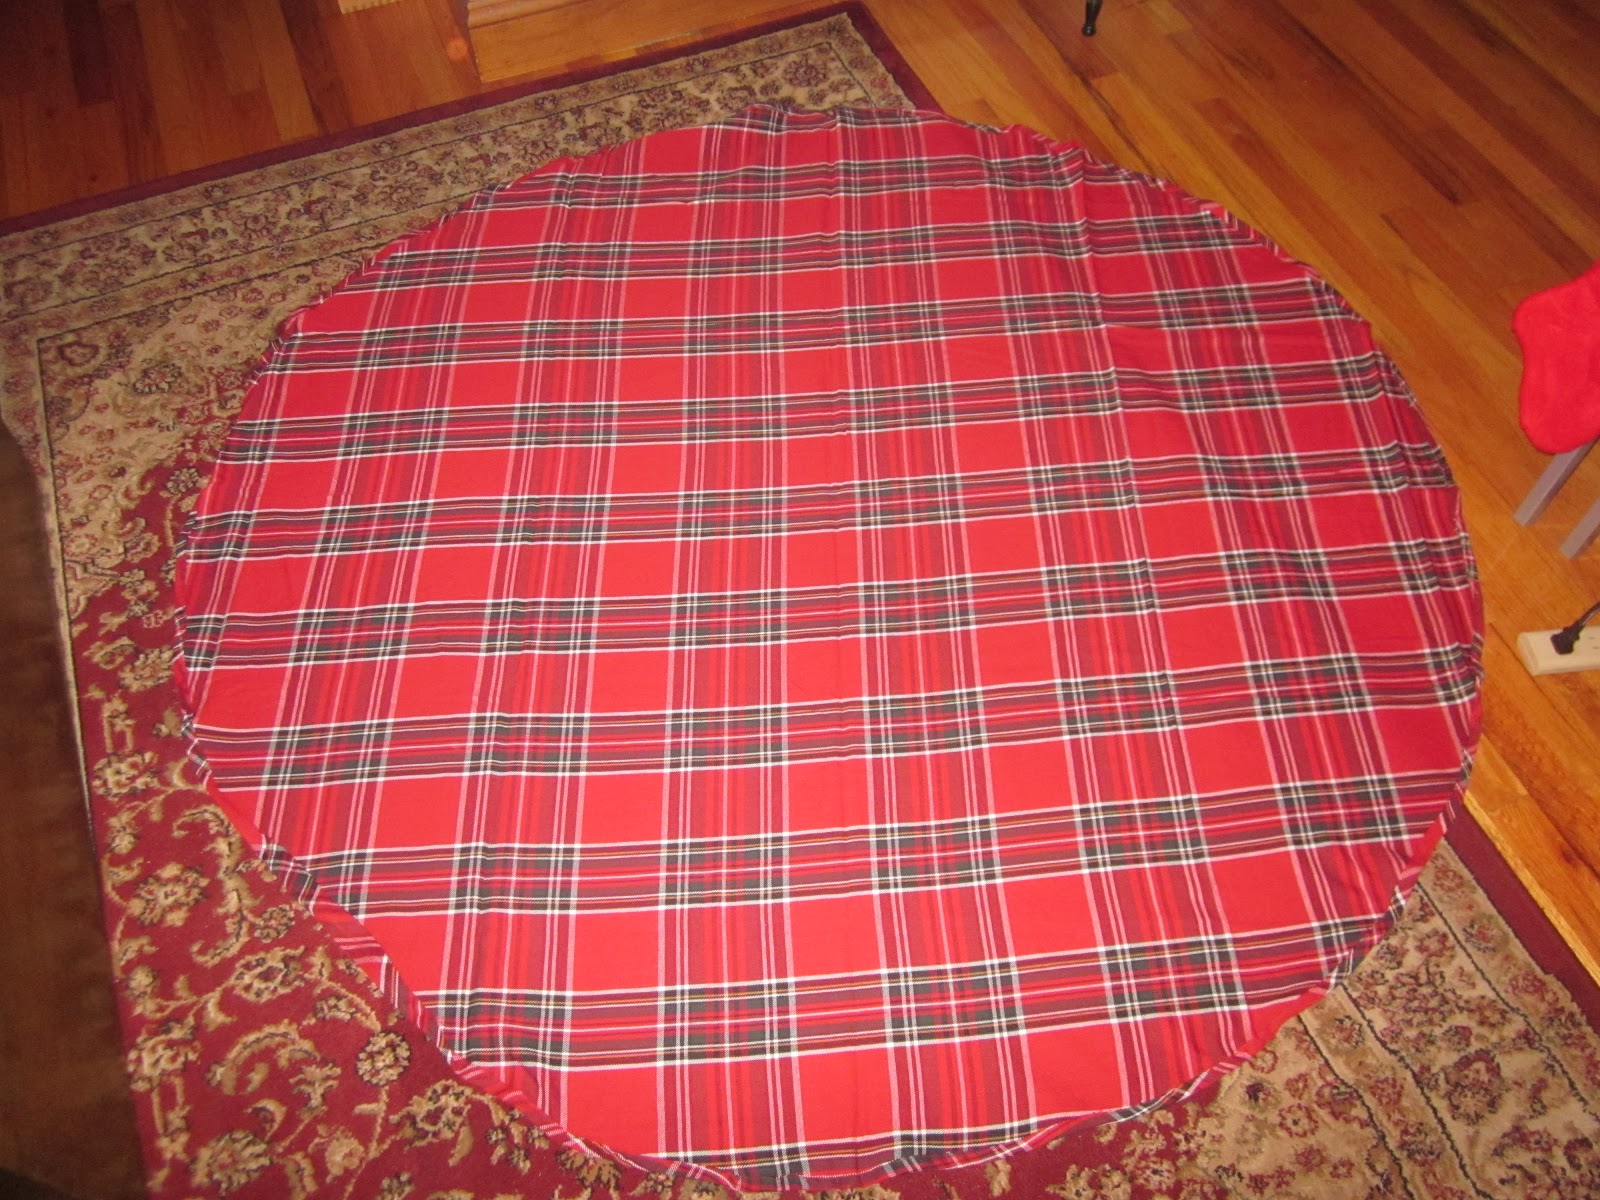
I was in marshalls the other day and came across this tablecloth for $9.99; I immediately grabbed it, as I was in the market for some holiday fabric to make christmas stockings.  Once home I was playing around with the fabric and wrapped it around my waist.  I quickly realized that this fabric was going to have a second use and that would be for my new holiday skirt.


So, what does one need for a christmas skirt?
1 yard of Fabric
Scissors
zipper
sewing machine (zipper foot needed)
thread
seam ripper

Step 1: Set out your fabric with right sides together


Step 2: Trace a skirt that fits you well, be sure to leave a little room for seam allowance


Step 3: Cut


Step 4: Fold fabric in half lengthwise to ensure the skirt was cut evenly (cut off excess if needed)


Step 5: create darts to the back piece of fabric only; to do this measure the waist band, and cut the measurement in half, measure this out and mark (this should be the exact middle); next measure 2 1/2" from the center on each side and mark, from here measure another 1" and mark; next in the middle of your inch mark and measure down 5 1/2" down, mark; connect the dots.
For a better visual you can refer to the darts on my pencil skirt tutorial here.


Step 6: pin both darts and sew using a straight stitch


 Your darts should look something like the below


Step 7: Now, with good sides of the fabric touching, pin up both sides of the skirt and sew. Note: before sewing decide which side you want to install the zipper to.  On the side of the skirt where the zipper will lay sew using a long stitch (you'll eventually use the seam ripper to take this out so the zipper can zip)


Step 8: Installing the zipper; for this I wanted the skirt to be a little funky so I decided to install the zipper on the outside of the skirt.  To do this turn the skirt right side out, unzip the zipper and pin one side to the right side of the seam


Step 9: Using your zipper foot on your machine sew the zipper to the skirt


Repeat steps 8 and 9 for the other side of the zipper


Step 10: Using the seam ripper, rip out the seam under the installed zipper; you should now be able to zip the two pieces of fabric apart


Step 11: Hem: Turn the skirt inside out; fold up the bottom of the skirt a 1/4 an inch and iron; from there fold up another 1/2  inch and pin all the way around, sew


and... you're ready to hit the town for some holiday parties!